
Transform your living space with these 10 DIY wall art ideas! Personalizing your home has never been easier or more affordable. This article provides easy-to-follow instructions and creative inspiration for crafting unique and stylish DIY wall art, perfect for adding a touch of individuality to any room. Discover affordable and accessible materials to create stunning personalized wall decor reflecting your unique style and taste. Learn how to elevate your home’s aesthetic with these simple yet impactful DIY projects.
Framed Botanical Prints
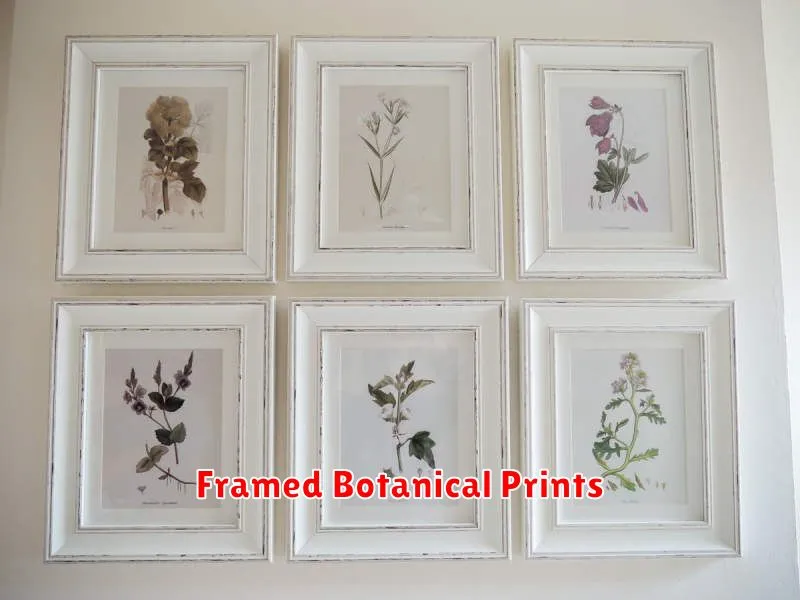
Elevate your space with the timeless elegance of framed botanical prints. This DIY project allows for complete personalization. Gather pressed flowers, leaves, or even ferns from your garden or local park. Carefully arrange them on high-quality cardstock or watercolor paper, and then carefully preserve them with a light sealant spray for longevity.
Once your botanical arrangements are complete, carefully select frames that complement your existing décor. Consider the color palettes and materials to achieve a cohesive look. Matting your prints adds a professional touch, providing a subtle border and enhancing the presentation. You can find affordable frames at craft stores or repurpose existing ones.
The final step is to carefully place your botanical prints into the frames, securing them with backing boards and hanging hardware. These DIY botanical prints offer a unique and sophisticated way to personalize your home, adding a touch of nature’s artistry to your walls. The result is a charming and personalized wall art piece that reflects your individual style.
Abstract Canvas Paintings
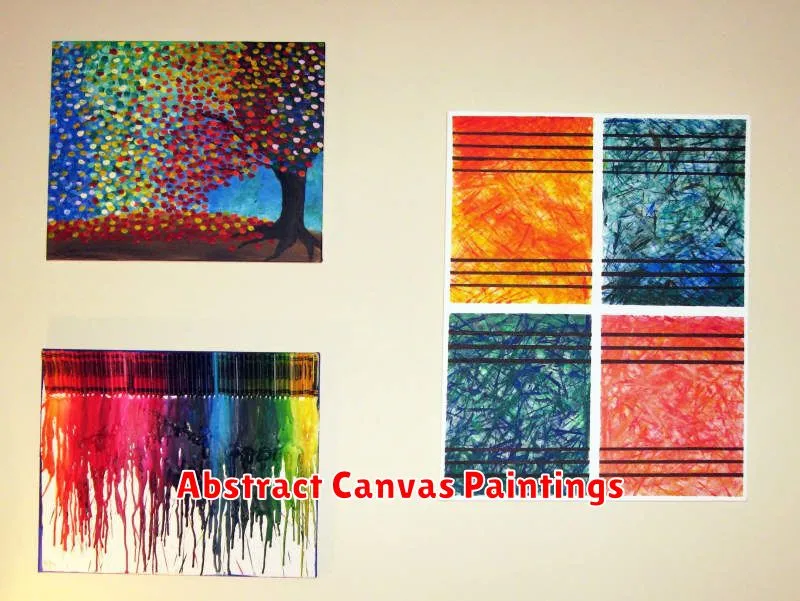
Abstract canvas paintings offer a versatile and expressive way to personalize your space. The beauty of this DIY project lies in its adaptability; there are no strict rules, allowing for complete creative freedom. Experiment with various techniques, such as layering colors, using palette knives for texture, or incorporating stencils for unique patterns. Color choice is crucial in setting the mood and reflecting your personal style.
Begin by prepping your canvas. You can purchase pre-stretched canvases or create your own using wooden frames and fabric. Consider the size and shape of the canvas to best complement your wall space. Once prepared, start with a base coat of paint, then build layers of color, allowing each layer to dry before adding the next. Explore diverse techniques to achieve various textures and effects, from smooth gradients to impasto styles with thick applications of paint.
To complete your abstract masterpiece, consider adding finishing touches such as splashes of metallic paint or textured elements. Allow the painting to fully dry before sealing with a protective varnish to preserve its vibrancy and longevity. The result is a uniquely personal piece of art that reflects your individual style and adds a touch of sophistication to any room.
DIY Family Photo Collages
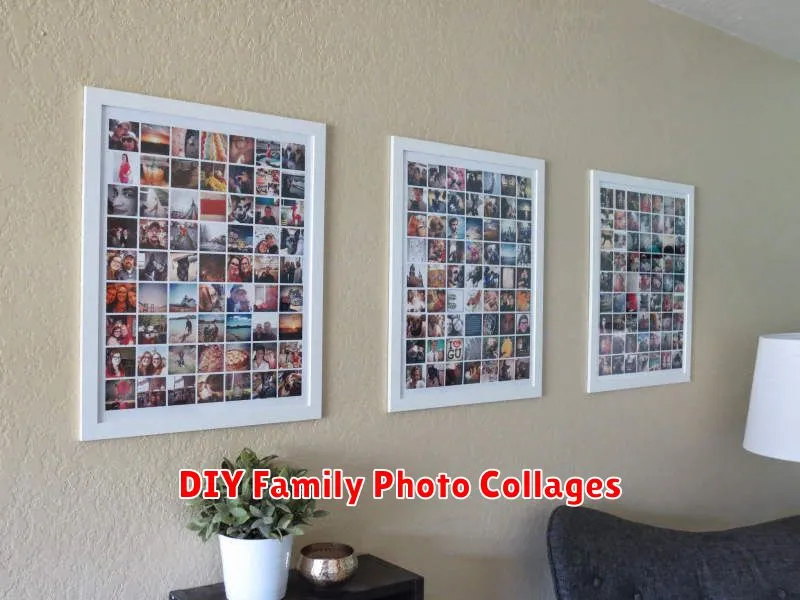
Creating a family photo collage is a heartwarming way to personalize your space. This DIY project allows for significant creative freedom, letting you showcase cherished memories in a unique and visually appealing manner. You can utilize various materials, from simple corkboards and clothespins to more elaborate frames and decorative paper, to achieve your desired aesthetic.
Consider your photos carefully before beginning. Choose images that reflect your family’s personality and highlight significant moments. Experiment with different layouts – a chronological arrangement, a thematic approach (vacations, birthdays, etc.), or a more abstract design – to create a collage that truly captures your family’s essence. Think about the overall size and shape of the collage to ensure it complements your existing décor.
The process itself is relatively straightforward. Gather your chosen photographs, along with any supplementary materials like frames, adhesive, or decorative elements. Arrange your pictures until you are satisfied with the composition, then carefully adhere them to your chosen base. Remember to allow ample space between photographs to avoid a cluttered look. Once completed, your DIY family photo collage will serve as a beautiful and personal piece of wall art.
Rustic Wooden Signs
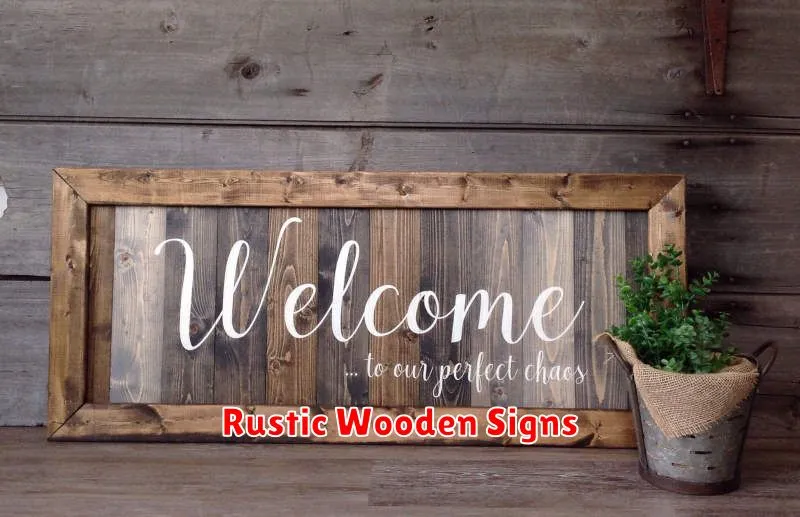
Rustic wooden signs offer a versatile and charming way to personalize your space. Their natural aesthetic complements various interior design styles, from farmhouse chic to modern rustic. The beauty lies in their simplicity; a few well-chosen words or a simple design can make a significant impact.
Creating your own rustic wooden sign is a straightforward DIY project. You can source reclaimed wood or purchase readily available planks. Basic tools like sandpaper, paint, and stencils are sufficient for a personalized touch. Consider adding distressing techniques for a more authentic antique look.
The possibilities are endless when it comes to personalization. Inspirational quotes, family names, or even whimsical sayings can be painted or burned onto the wood. Adding embellishments like twine or metal accents can further enhance the rustic charm, creating a unique piece of wall art that reflects your individual style.
3D Paper Art Installations
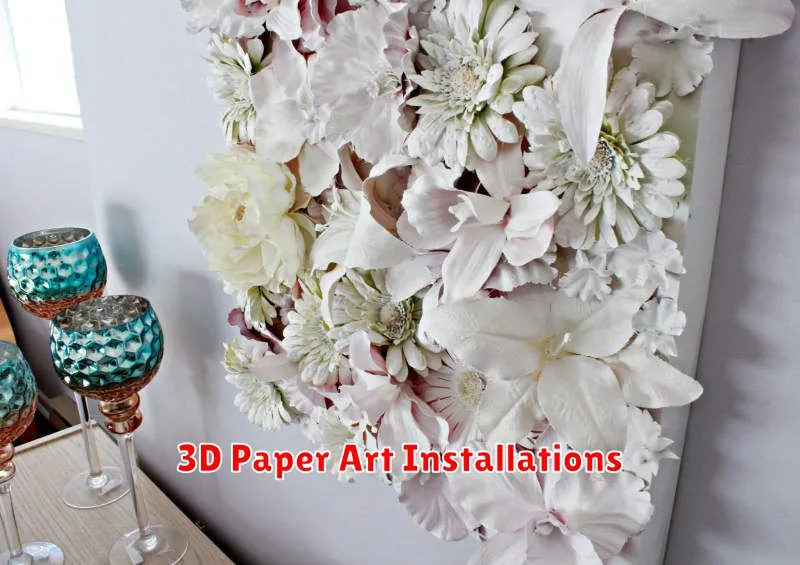
3D paper art installations offer a unique and affordable way to personalize your space. This technique involves creating three-dimensional structures from paper, resulting in visually striking wall art. The process is surprisingly simple, requiring only basic crafting supplies such as paper, scissors, glue, and potentially a cutting mat. The possibilities for design are endless, allowing for customized shapes, colors, and patterns to perfectly complement your existing décor.
Consider crafting geometric shapes for a modern aesthetic, or creating intricate floral designs for a more delicate touch. For a more ambitious project, you could design paper sculptures depicting animals, landscapes, or abstract forms. The level of complexity is entirely dependent on your skill level and desired outcome. Experiment with various paper types, including cardstock, construction paper, and even recycled materials, to achieve different textures and effects.
Remember to plan your design meticulously before beginning. Detailed sketches can help visualize the final product and ensure accurate cutting and assembly. Once complete, your 3D paper art installation can be easily mounted on the wall using double-sided tape, glue dots, or even decorative pins. This versatile art form provides a fantastic opportunity to express your creativity and add a touch of personalized flair to any room.
Customized Letter Boards
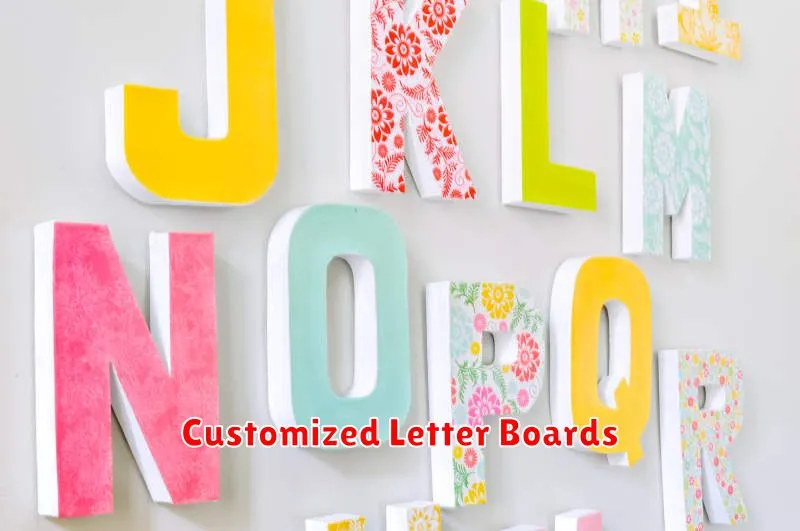
Customized letter boards offer a versatile and affordable way to personalize your space. These DIY projects allow for endless creative expression, transforming a simple board into a unique piece of wall art. You can easily change the message to reflect your current mood, season, or upcoming events, ensuring your decor remains dynamic and engaging.
The process is relatively simple, requiring readily available materials such as a frame, a background surface (like corkboard or felt), and letter tiles. You can find these supplies at most craft stores or online retailers. Personalization extends beyond the message itself; consider embellishing the frame with paint, decoupage, or other decorative elements to match your existing home style.
Beyond the aesthetic appeal, customized letter boards provide a functional element. They can serve as a daily reminder, a motivational message, or even a playful interaction piece for family and guests. The ability to easily alter the message ensures lasting enjoyment and prevents your wall art from becoming stagnant.
Macrame Wall Hangings
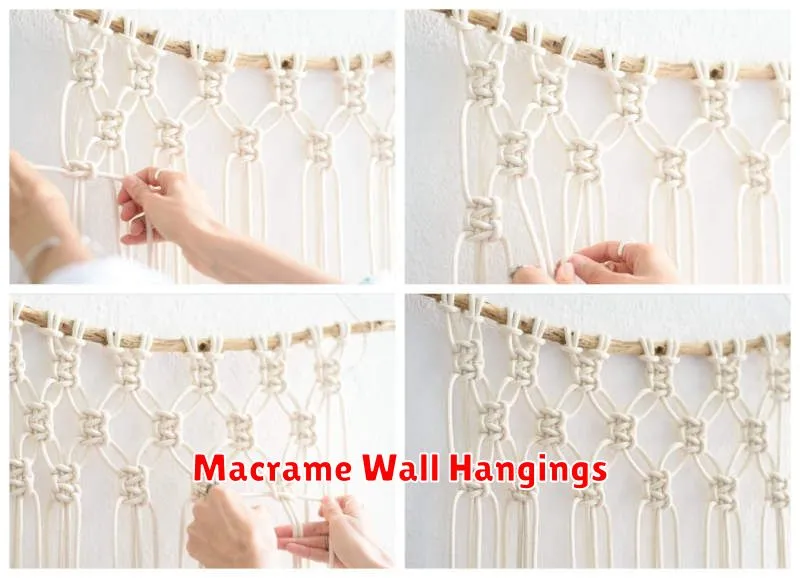
Macrame wall hangings offer a unique and versatile way to add texture and personality to your space. These handcrafted pieces, created using various knotting techniques, come in a wide range of styles, from minimalist geometric designs to intricate, bohemian patterns. The natural fibers, such as cotton or jute, often used in macrame create a warm and inviting atmosphere.
Creating your own macrame wall hanging is a surprisingly accessible DIY project. Numerous online tutorials provide step-by-step instructions for various skill levels, making it a perfect craft for both beginners and experienced crafters. You can customize your creation by choosing your preferred colors, textures, and patterns, ensuring a truly personalized piece of art.
Beyond their aesthetic appeal, macrame wall hangings offer a satisfying creative outlet. The process of knotting provides a meditative and mindful experience, allowing you to relax and express your creativity while creating a beautiful and functional addition to your home. Their relatively low cost and wide range of design possibilities make macrame wall hangings an exceptionally rewarding DIY project.
Hand-Painted Tiles
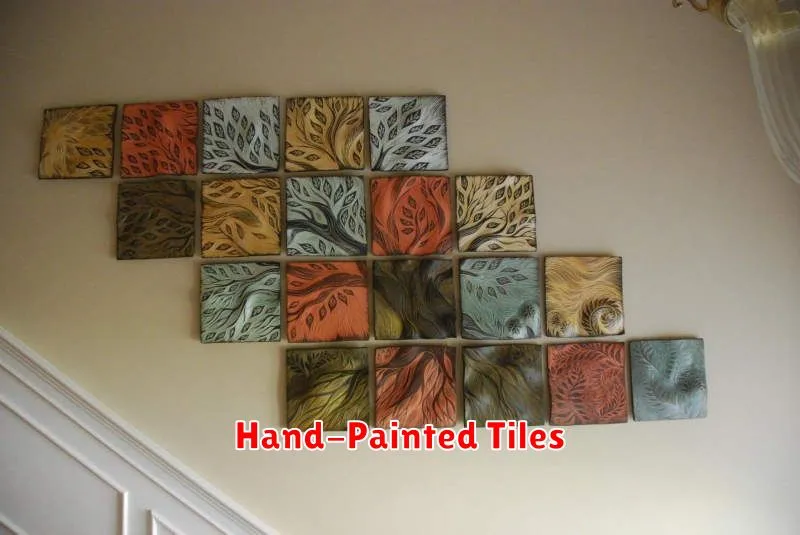
Transform plain ceramic tiles into unique works of art with a personalized touch. This DIY project allows for creative expression, whether you prefer intricate designs or simple geometric patterns. The process involves selecting tiles, prepping their surfaces, and applying paint using brushes or sponges. Consider using acrylic paints for their vibrant colors and easy cleanup.
Once the paint is dry, seal the tiles with a protective sealant to ensure durability and longevity. This step prevents chipping and fading, extending the life of your hand-painted creations. Arrange the finished tiles to create a custom mosaic or use them individually as accents on a larger wall display. The possibilities are as limitless as your imagination.
The beauty of hand-painted tiles lies in their versatility. They can complement any room’s décor, from a modern kitchen to a rustic bathroom. Experiment with color palettes and patterns to reflect your personal style and create a truly one-of-a-kind wall art piece. This DIY project offers a rewarding experience, culminating in a unique and personalized addition to your living space.
Washi Tape Designs
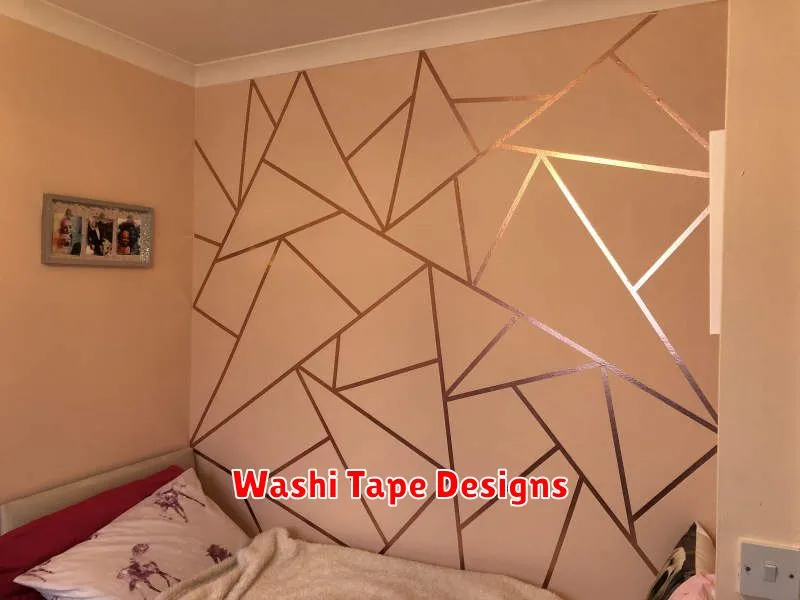
Washi tape offers a versatile and affordable way to create unique wall art. Its low-adhesive nature makes it easy to apply and remove, allowing for experimentation and frequent changes to your décor. Geometric patterns, floral motifs, and even abstract designs can be crafted with different colored washi tapes, creating visually stunning pieces.
Consider using washi tape to create stripes, borders, or even complex mandalas on a large canvas or directly onto the wall. Experiment with layering different widths and colors of tape to add depth and texture. The possibilities are endless, limited only by your creativity and the selection of washi tape available.
For a more structured approach, pre-plan your design on paper. This helps avoid mistakes and ensures a cohesive final product. Remember to use a ruler for straight lines and sharp angles for a more polished look. The subtle texture of washi tape also adds an interesting element to any design, differentiating it from other wall art mediums.
Recycled Material Frames
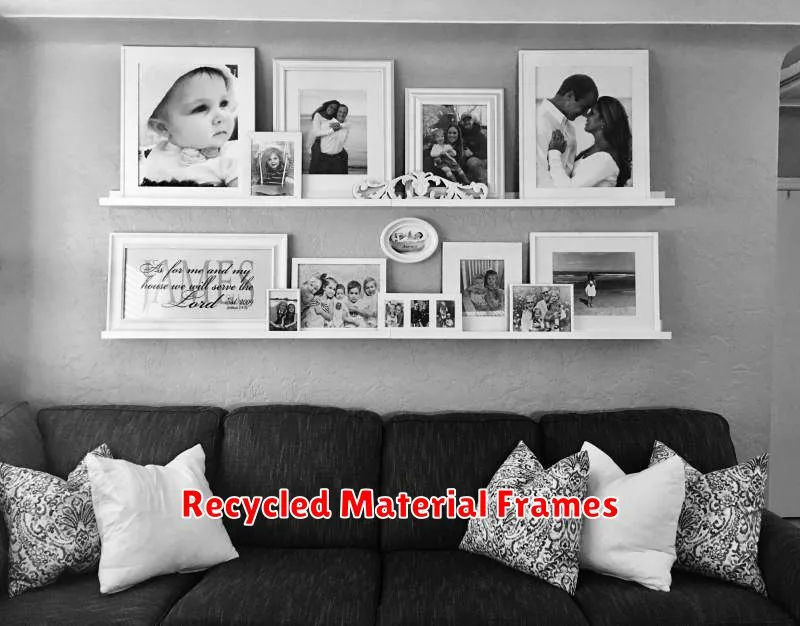
Give your wall art a unique and eco-friendly touch by crafting recycled material frames. Transform discarded items like cardboard, old magazines, or even plastic bottle caps into stunning frames that perfectly complement your artwork. The possibilities are endless, allowing you to create frames that reflect your personal style and add a touch of sustainability to your decor.
For a rustic look, consider using recycled wood or cardboard, layering and painting them for texture and depth. Alternatively, create a mosaic frame using broken ceramic tiles or bottle caps, arranging them in a pattern that suits your aesthetic. This approach is a great way to utilize leftover materials from other projects, minimizing waste.
Remember to carefully measure your artwork before beginning construction to ensure a proper fit. Apply a protective sealant to your finished frame to enhance its durability and longevity. With a little creativity and some readily available materials, you can easily create eye-catching and environmentally conscious frames for your favorite pieces of art.